How To Build a Balcony: Step-by-Step Guide for DIY Enthusiasts
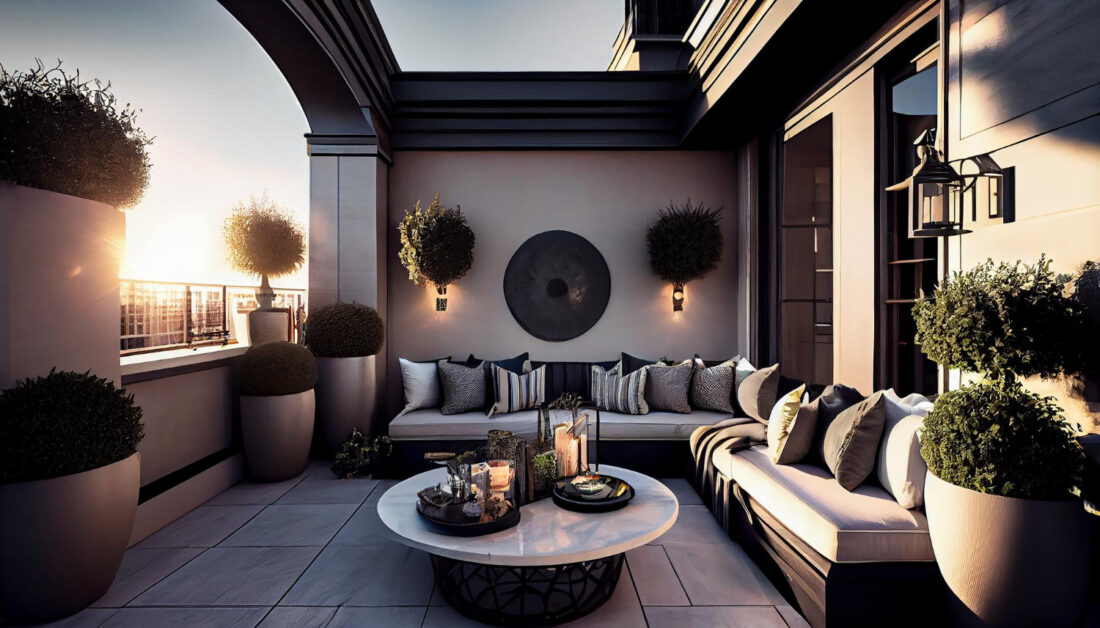 There’s nothing quite like a sturdy, well-placed balcony for pure pleasure. Do you love catching some fresh air? A balcony turns any house into a sanctuary of sorts.
If you’re the kind who loves DIY and knows their way around carpentry tools, then building a balcony can be an amazing adventure for you. Fear not – we’ve got this guide to help turn those lofty dreams into something solidly real.
Planning Your Balcony
Remember, before you grab those tools, solid planning is key. Start by deciding your balcony’s size, location, and style – no one wants a gigantic monstrosity that blocks windows or doors!
Also, make sure it won’t land you in hot water with local laws. Sketch out your vision like an architect would – where everything goes along with sizes and what materials are needed for each part of your balcony.
This step can be fun because it’s your little outdoor escape spot we’re talking about here, so tweak away to suit both aesthetics and practical needs.
Gathering the Materials
Once you’ve got your plan locked in, it’s shopping time for materials.
- Timber
- Brackets
- Concrete
- Railings
- Waterproofing system
Depending on just how grand or simple your balcony design will be, that list of yours might vary a bit. Put weather-resistant material high on your priority list. You want your balcony lasting long and looking sharp, rain or shine. Finally, gloves, safety glasses, and sturdy boots are essential for your safety.
Building the Balcony
Once the materials are ready, it’s time to roll up those sleeves. Here’s how you go about it:
- Attach a ledger board right onto your house. This will serve as the main support for your balcony.
- Lock in those joists on the ledger using hangers so they’re evenly spaced and totally level.
- Lay down your decking boards, starting from the wall and working your way out.
- Secure your railings last, ensuring they are stable and at a safe height.
Final Inspection and Finishing
Once the construction is done, do a final once-over on your shiny new balcony. Remember, safety always comes first! Now’s when you might want to invite an expert structural engineer for tea (or beer). They’ll be able to spot any potential hiccups and suggest tweaks ensuring that our beloved construction stands tall and strong.
The cherry-on-top step, add finishing touches with some paint or maybe even enhance its natural wooden charm with just stain. Don’t forget to slap on some sealer as well. It’s like sunscreen against all those harsh weather elements out there.
Conclusion
So there you have it, constructing a balcony can totally be your next DIY kick! With some solid prep work, the right materials, and a bit of elbow grease, you’ve got yourself an awesome hangout spot to chill for ages.
Remember, safety is always your top priority! So, if needed, don’t even think twice about roping in professionals to lend that expert hand. Happy building!