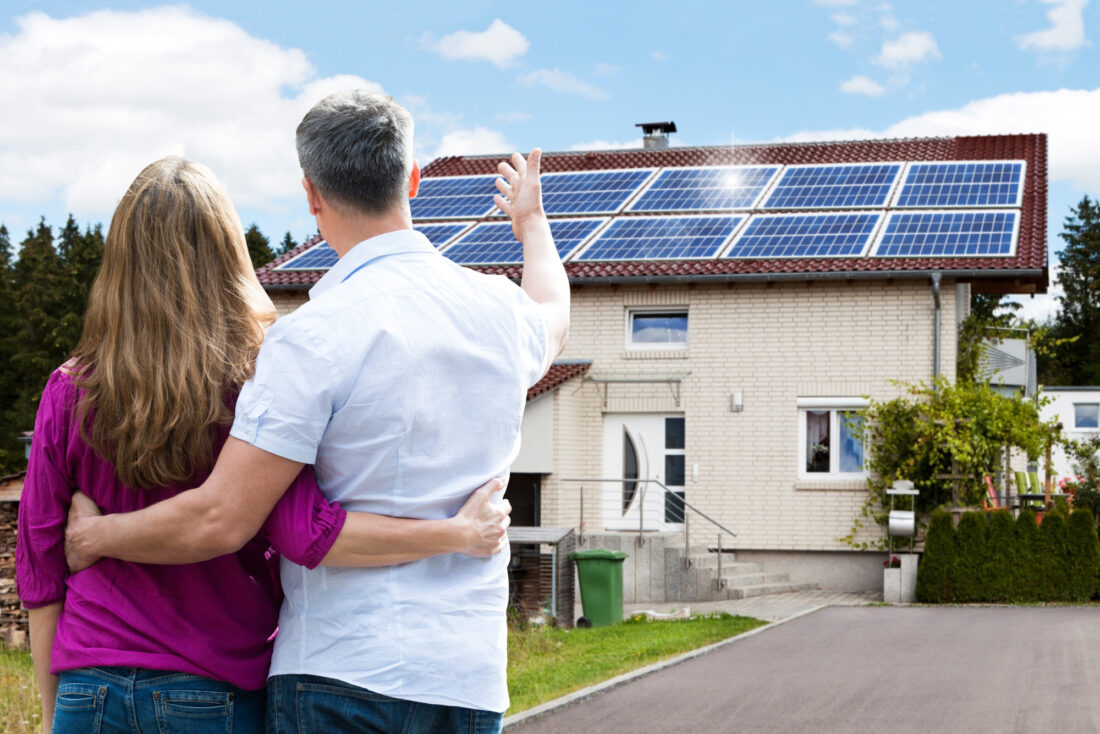
How to Prep and Install Solar Panels: The 7-Step Process Explained
 Enough solar panels are circulating in the United States to power 12.3 million American homes. As the push for clean energy continues to become a priority for the nation, we’re seeing more people than ever flock towards solar technology in hopes of saving money and the environment.
If you’re among those that are looking to get your house powered by solar but aren’t sure where to start when it comes to how to install solar panels or the process that leads up to install day, you’re in the right place.
In this post, our team starts from square one, describing each step you’ll take up to the moment you flip on your panels and start enjoying, clean, green energy. Keep reading to learn more!
1. Evaluate Your Roof’s Integrity
You’ve decided that you’d like to go green with solar! That’s great news. You will need to determine, however, if your roof is as eager when it comes to solar adoption as you are.
Your roof will be supporting considerable weight given that it’ll have brackets and panels sitting on it. That weight will increase depending on the number of panels you need to be installed to power your home to the degree you’d like.
A roofing contractor should come by to assess whether or not they feel your roof is ready to support panels. It if isn’t, you’ll need to get that addressed before proceeding.
2. Look Over Your Home’s Electrical Infrastructure
If your roof is in good shape, the next pre-‘how to install solar panels’ step you’ll take is to assess your home’s electrical grid.
Does your house have the infrastructure required to pull in solar energy and distribute it throughout your home? Will you need to make upgrades? Only an electrician will know for sure.
Similar to how you brought on a roofing contractor, talk to an electrician or a representative from a local solar company to see if they’d be willing to quickly assess your home’s electricity for solar efficacy.
3. Look Into Permits and Incentives
With your house rated as solar-ready, it’s time to start managing the busy work part of solar panel installation. Namely, looking into permit requirements and local incentives.
Incentives are more fun to explore than permits because incentives tend to pay you money. For example, there are state and local clean energy programs that will give you tax breaks or rebates on your solar energy purchase. Solar companies in your area can make you more aware of them.
As far as permits go, installing panels will likely constitute the need to pull a building permit. If that’s the case, look into those requirements to make sure you’re not caught off guard when it comes time to start putting panels on your roof.
4. Get Your Equipment
Not all solar panels are created equal. Some last longer, others are more sightly, and so forth.
To make sure you invest in the solar equipment that provides the balance of form and function you’re looking for, exercise patience when weighing your options. Also, talk to area solar experts that don’t have a vested interest in selling you any particular panel to get their recommendation on what equipment they feel drives the most value.
Remember, solar panels take time to pay themselves off. That means you’ll have to use them for a while so make sure you like the solar choice you make before putting money down.
5. Pick an Install Window
Unless you’re a DIY expert with experience in solar, we recommend working with a team when it comes to solar installation to ensure your panels work and are safely secured. If that advice sounds reasonable to you, you’ll need to select a window in which you’ll get your panels installed.
Our advice when negotiating install windows with professionals is to aim for winter. Winter installations are less popular than summer installations which could mean labor savings.
6. Get Your Panels Installed
Finally, you’ve arrived at the stage in which your ‘how to install solar panels’ ambitions will come to fruition! While we hope you’ll trust a team to manage the installation of your panels, it doesn’t hurt to know what’s happening on your roof as it unfolds.
To that end, plan on your installation team double-checking your shingles/tiles to ensure they’re secure (assuming your roof features those elements). With your roof checked, your install team will start to lay wiring where needed to get your panels looped into your home’s power.
Finally, brackets will go on your roof and be secured to it. Then, your panels will be installed on the brackets.
This process may take anywhere from one to three days.
7. Flip the Switch
With a final inspection from your city, you’ll get the go-ahead to take your solar live. When you do, flip the switch and start enjoying your clean power.
Your city may even allow you to sell them power from your panels, through their grid, when they experience shortages!
You Now Know the How to Install Solar Panels Process
From prep work to putting panels on roofs and hitting the “on” button, the ‘how to install solar panels’ journey can be a long one. Know that the length and stress of that journey can be largely curbed by working with solar professionals.
Given that fact, we recommend taking the time to explore partnering with qualified groups in your area to help realize your solar ambitions.
For more information on the benefits of solar energy and other lifestyle topics, check out additional content on our blog.


